
You wash a new t-shirt once and it comes out a size smaller. Or a buyer cuts open a carton and measures a shirt that is two centimeters shorter than the spec. Both are shrinkage problems, and both cost money. Good shrinkage control starts in the mill, continues in the cutting room and ends in the wash test before shipment.
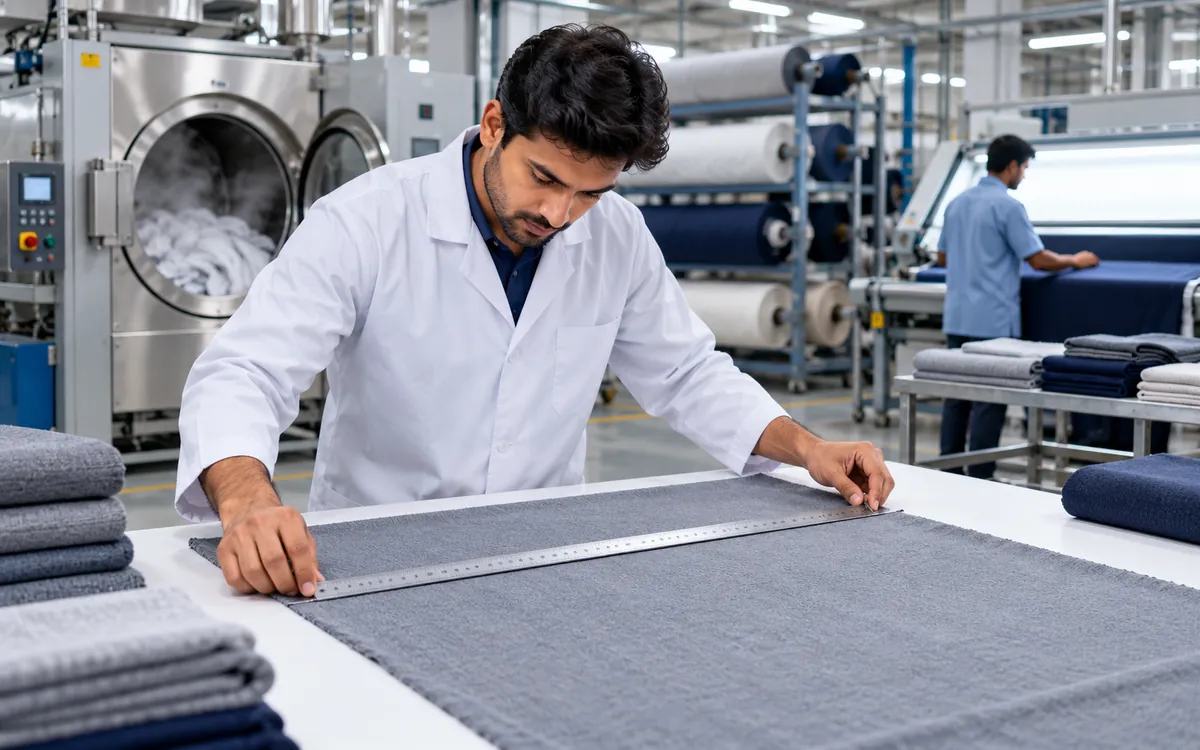
This guide explains why fabrics shrink, how to measure shrinkage, how to build allowances into patterns and what treatments reduce it. It includes worked examples you can reuse. If you need a quick reference on testing, our guide on checking fabric shrinkage shows the basic test, and our guide on pattern making based on fabric shrinkage explains how it affects pattern size.
Why fabrics shrink
Fabric shrinks when the stresses stored in it during manufacture are released. There are four main causes.
1. Relaxation shrinkage
During weaving, yarns are held under tension. During knitting, loops are pulled out of shape. During finishing, the fabric is stretched on a stenter. When the fabric meets water and agitation in the wash, the yarns relax and return to a more natural, shorter state. This is the main cause of shrinkage in cotton and knit fabrics.
2. Swelling shrinkage
Natural fibers like cotton and viscose swell when wet. As the fiber becomes thicker, the yarn becomes shorter, and so does the fabric. On drying, some of this swelling reverses, but not all.
3. Felting shrinkage
Wool has scales on its surface. In hot water with agitation, the scales lock together, and the fabric shrinks and thickens. This is called felting. It is hard to reverse, so wool needs special care or a shrink-resist treatment.
4. Thermal shrinkage
Synthetic fibers like polyester and nylon shrink when exposed to heat above the temperature at which they were heat set. This is a common problem in fabrics that were not heat set properly.
Where shrinkage shows up
| Fabric | Typical shrinkage direction | Notes |
|---|---|---|
| Cotton jersey | Length shrinks more than width | Common source of short t-shirts |
| Rib and interlock | Width and length | Depends on structure |
| Woven cotton | Length more than width | Needs sanforizing |
| Denim | Length, often high | Raw denim shrinks a lot |
| Viscose and rayon | High in both directions | Swells strongly in water |
| Wool | Both, felting | Needs shrink-resist finish |
| Polyester | Low unless heated | Heat shrinkage matters |
Knit fabric can also twist after washing. This is called spirality. It happens when the knitted loops lean to one side, so seams on the finished garment rotate around the body. It is related to yarn twist and the way the fabric is finished.
How to measure shrinkage
Shrinkage is the percentage change in length or width after washing.
Shrinkage % = (Before − After) ÷ Before × 100
Worked example: fabric
You mark a square on a fabric swatch, 50 cm × 50 cm. After washing and drying according to the test method, the square measures 48 cm in length and 49 cm in width.
- Length shrinkage = (50 − 48) ÷ 50 × 100 = 4 percent
- Width shrinkage = (50 − 49) ÷ 50 × 100 = 2 percent
The result would be written as −4.0 percent in length and −2.0 percent in width. A negative sign is often used to show shrinkage, and a positive sign shows growth.
Test methods
Buyers cite standard methods. Common ones include ISO 6330 for the domestic washing and drying procedure, ISO 5077 for dimensional change, and AATCC 135 for home laundering. The method, the temperature, the number of washes and the drying mode all change the result, so always follow the buyer’s test instruction and use the version they name. Different buyers may use different methods.
Garment shrinkage testing
Testing fabric is the first step. Garments should also be tested, because sewing and finishing change the result. A common method is to mark and measure key points on the garment, wash it, dry it and measure again. The points measured include chest width, body length, sleeve length, waist and inseam.
Sampling
Test every lot, not just one roll. Different lots of the same fabric can behave differently. Test the beginning, middle and end of a roll when possible, because tension varies along the roll.
Typical limits
Many buyers allow dimensional change within a range of about plus or minus 3 to 5 percent, depending on fabric and garment type. Some set tighter limits for woven shirts and trousers, and looser ones for knit tops. These figures vary, so always use the number in your buyer’s technical pack and not a general rule.
Building shrinkage into patterns
If you know the fabric will shrink, you cut the garment bigger by the same percentage. A common formula is:
Cut size = Finished size ÷ (1 − shrinkage %)
Worked example: t-shirt
A t-shirt has a finished half chest width of 52 cm and a finished body length of 70 cm. The fabric test shows 3 percent shrinkage in width and 5 percent in length.
- Cut half chest = 52 ÷ (1 − 0.03) = 52 ÷ 0.97 = 53.6 cm
- Cut body length = 70 ÷ (1 − 0.05) = 70 ÷ 0.95 = 73.7 cm
So the pattern is made 53.6 cm and 73.7 cm. After washing, the shirt should come back to about 52 cm and 70 cm.
Check the shortcut
Some people simply add the percentage: 52 + 3 percent = 53.56 cm. The result is close for small shrinkage. For larger shrinkage the division formula is more accurate. At 8 percent, adding gives 56.2, but dividing gives 56.5, a difference of 3 mm that matters on larger measurements.
Worked example: sleeve
A shirt sleeve length is 62 cm finished. Shrinkage in length is 4 percent. Cut length = 62 ÷ 0.96 = 64.6 cm.
Pattern allowance should be applied to each critical measurement. For garments that are washed in the factory, such as denim, the garment shrinkage after washing is measured and used to adjust the pattern for the next batch. See our guide on the denim washing process.
Do not rely on one number
Shrinkage is not the same on every fabric lot. A pattern based on one test can be wrong on the next lot. Many factories do a shrinkage test at fabric inspection and adjust the marker if needed.
Fabric treatments that reduce shrinkage
Compacting
Compacting is a mechanical finish for knit fabric. The fabric is fed forward onto a rubber belt or a felt blanket, so the loops are pushed closer in the length direction. This lowers the residual shrinkage. See our guide on the compactor and calender machine for knit finishing.
Sanforizing
Sanforizing is used for woven cotton. The fabric is moistened and pressed against a stretched rubber blanket as it passes through a nip. As the blanket returns to its relaxed length, it pushes the fabric to shrink in advance, so there is less shrinkage later.
Stentering with controlled overfeed
On a stenter, the fabric can be overfed, which means more length is fed into the machine than comes out. This lets the fabric relax in the length direction as it dries. The width is set by the pins or clips. Overfeed reduces length shrinkage. See our guide on the stenter machine functions and settings.
Heat setting
Synthetic fabrics are heat set at a controlled temperature, which locks the structure and reduces later shrinkage.
Relaxation drying
Tumble drying knit fabric in a relaxed state before finishing allows it to shrink in a controlled way. Some mills do this, then compact the fabric.
Resin finishing
Cross-linking resins on cotton improve dimensional stability and wrinkle recovery. The treatment must be controlled to protect fabric strength.
Shrink-resist treatment for wool
Wool can be treated to reduce felting, either by removing the scales with chemicals or by coating them with a polymer. The result is machine-washable wool. Check the treatment type if the buyer has chemical restrictions.
Enzyme and wash treatments
Pre-washing the fabric or garment lets it shrink before the final measurement. This is standard for denim, where garment washes also give a finished look. Enzyme washes may change the fabric surface and slightly alter the size.
Process controls in the factory
Finishing is one part of shrinkage control. Good habits across the whole process matter too.
| Stage | Control |
|---|---|
| Fabric receiving | Test shrinkage, record lot and roll |
| Storage | Store flat or on rolls, avoid stretching |
| Relaxing | Allow rolls to rest before cutting. Many factories rest knit fabric for 24 hours or more |
| Spreading | Use low tension, avoid pulling |
| Cutting | Cut on grain, match pattern allowances |
| Sewing | Use correct stitch and tension, avoid stretching |
| Washing | Follow the wash recipe and drying settings |
| Finishing | Pressing temperature and time correct |
| Final audit | Wash test on random samples |
Relaxing fabric before cutting is one of the cheapest controls. When a roll sits tightly wound for days, tension stays inside. Letting it rest, or running it through a relaxing machine, releases some of that. Our guide on fabrics warehouse and cutting section best practices shows how to organize this.
Common shrinkage problems and fixes
| Problem | Likely cause | Fix |
|---|---|---|
| Short garments after wash | High length shrinkage | Use finished fabric with lower shrinkage, adjust pattern |
| Narrow garments after wash | Width shrinkage | Check stentering width, adjust pattern |
| Twisted side seams | Spirality in knit | Control yarn twist, compact, cut on grain |
| Different shrinkage by lot | Inconsistent finishing | Test every lot, ask the mill for control |
| Shrinks in dryer only | Tumble drying heat | Check fiber and heat setting |
| Collar and body shrink unequally | Different fabrics or interlining | Pre-shrink trims, match shrinkage |
| Tape or elastic shrinks | Trim shrinkage | Test trims |
| Print cracks after wash | Fabric shrinks more than print | Match print to fabric behavior |
Trims matter too. A cotton tape or an interlining that shrinks more than the shell fabric causes puckering. Test trims too. See our guide on trims and accessories inspection.
A quick factory checklist
- Ask the mill for shrinkage results on every lot before the fabric ships.
- Run your own test on the first roll of each lot and record it.
- Rest knit rolls before spreading, and spread without tension.
- Apply the pattern allowance from the latest test, not from an old file.
- Wash and measure at least one finished garment per size from the first production batch.
- Keep a shrinkage log by fabric, so the next order starts with real data.
Helping the customer
Even a well-made garment can shrink if it is washed hot and dried hard. A clear care label helps. Typical advice includes washing in cool or warm water, avoiding high-heat tumble drying and drying flat for wool and viscose. Keep the care label accurate. If the label says to wash at 40 degrees, the garment must pass the test at 40 degrees.
Final thoughts
Shrinkage is predictable if you measure it. Test each lot, divide by one minus the shrinkage when you build the pattern, rest the fabric before cutting and finish the cloth with the right process for its fiber. A few percent of control at each stage adds up to garments that arrive in the right size and stay that way after the first wash. The best moment to catch shrinkage is before you cut, because after sewing, the only fix is a claim.
Frequently asked questions
Shrinkage control is the set of steps used to keep a fabric or garment close to its intended size after washing. It includes fabric finishing, pattern allowances, process controls and testing.
Subtract the after-wash measurement from the before-wash measurement, divide by the before measurement and multiply by 100.
Divide the finished size by one minus the shrinkage fraction. For 3 percent shrinkage, divide by 0.97.
Spirality is the twisting of knit fabric or garments after washing, so side seams rotate around the body. It is related to yarn twist and fabric structure.
Sanforizing is a mechanical finish that pre-shrinks woven cotton fabric so it shrinks less in later washing.
Many buyers allow around 3 to 5 percent, but limits differ by fabric and garment type. Check your buyer’s specification.
Cotton knit relaxes and swells in water, especially if it was not compacted or pre-washed. Hot washing and high-heat drying make it worse.