A placket is the strip of fabric that finishes and strengthens an opening in a garment, so that the opening can be closed with buttons, snaps or a zipper. The types of plackets in garments run from the plain front placket on a shirt to the two piece tower placket on a cuff, the short polo placket and the hidden placket that covers the buttons. Each type has its own pattern, its own sewing sequence and its own typical defects.
For a sewing supervisor or a quality person, the placket is one of the operations that shows the skill of the line. A twisted, short or puckered placket is seen at once by the customer. This guide describes the common placket types, their parts, how they are made, how to specify them and what goes wrong.
What a placket does
- Strengthens the opening. Without a placket, an opening in the fabric tears or stretches where buttons pull.
- Carries the closure. The buttons, buttonholes, snaps or zipper are fixed in or onto the placket.
- Finishes the raw edges. It gives a neat look inside and outside.
- Shapes the design. Width, length and stitching on the placket are part of the style.
Parts of a placket
Names vary by factory and by region, but these parts are common.
- Placket stand or strip: the visible strip of fabric.
- Facing: the inner layer folded to the inside.
- Overlap (top side): the side that lies on top when closed, and carries the buttonholes.
- Underlap (under side): the side below, which carries the buttons.
- Placket length and width: set in the tech pack.
- Interlining: a fusible layer to stiffen the placket. See types of interlining in garments.
- Topstitching: the visible stitching along the edges.
- Bartack or box stitch: at the base of the opening for strength.
- Placket end shape: square, pointed or rounded.
On men’s shirts the buttons are normally on the wearer’s right and the buttonholes on the left. On women’s shirts the sides are reversed. Always follow the tech pack for the style.
Two ways to build a placket
Separate placket
A separate strip of fabric is cut and attached to the opening. It gives freedom in fabric, colour, direction of grain and shape. Used on polos, henleys and many sleeve plackets.
Grown on (self) placket
The placket is made by folding the body fabric itself at the front edge, with no separate piece. It saves cutting time and fabric, and it is common on shirts with a simple front. The fold is pressed and topstitched, often with an interlining inside.
Main types of plackets
1. Classic front placket (shirt placket)
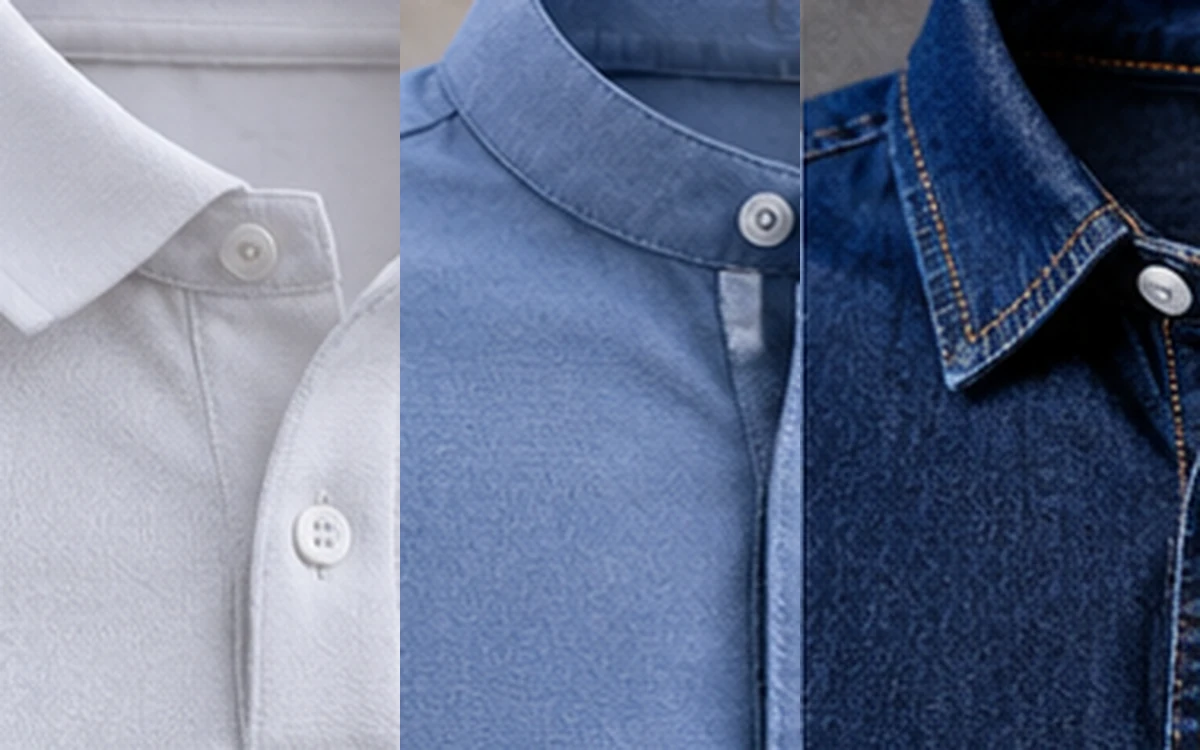
The standard placket on a woven shirt. A folded strip is stitched down the front edge on both sides. The buttonhole side is the visible one, and the button side is the underlap. Buttons show on the outside.
- Uses: formal and casual shirts, blouses, workwear shirts.
- Features: topstitched on both edges, with a width often between 2.5 and 4 centimetres finished, as the buyer specifies.
2. Hidden or concealed placket (French placket)
An extra strip of fabric covers the buttons, so only a smooth front shows. The buttons are sewn on the underlap, and the buttonholes are on the cover strip or underneath.
- Uses: dress shirts, blouses and jackets with a clean front.
- Features: a neat look, but more operations, more fabric and more care in sewing.
3. Polo placket (T placket)
A short placket at the neck of a polo shirt. It is made from a separate strip, or from the body fabric, and sewn into a slit in the front. It is often 3 buttons or fewer. The shape at the bottom may be square, pointed or with a box stitch.
- Uses: polo shirts, golf shirts, uniforms.
- Features: a placket facing is attached to one side, and the buttonhole side overlaps the button side. The base is closed with a bartack or a stitched box.
4. Henley placket
A short placket on a round neck knit top, with 2 or 3 buttons and no collar. It is similar to a polo placket but often with a different shape and with the neck band joined directly.
- Uses: Henley tops, casual wear, pyjama tops, baby wear.
5. Sleeve placket (cuff placket)
An opening at the lower sleeve edge, so the cuff can be opened and the hand goes through. There are two common types.
- Continuous lap (bias strip placket): a single strip of fabric, often cut on the bias, wraps the slit in one piece. It is fast to sew and common in basic shirts and blouses.
- Tower placket (two piece placket): two separate pieces, one on each side of the slit, with a shaped overlap. It is neater and more formal, and takes more operations.
6. Zipper placket
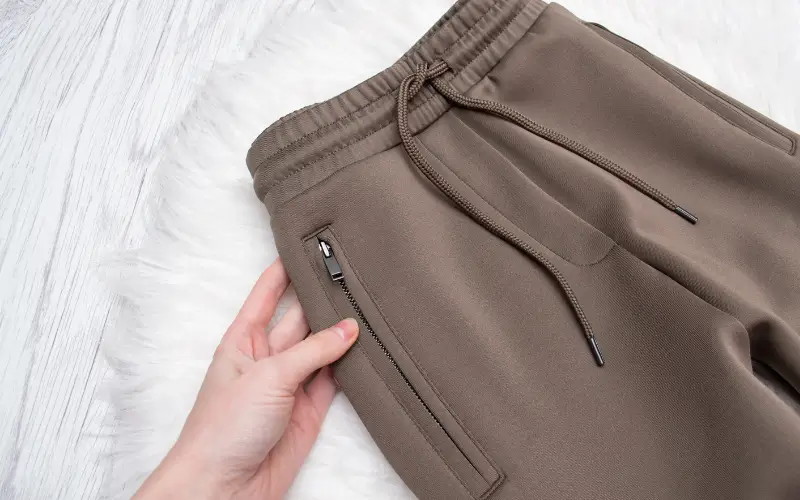
A placket made to carry a zipper, either on the surface or covered. The zipper is sewn behind a fold or a strip. Common on jackets, jumpers, track tops and half zip pullovers. A covering strip on the placket hides the zipper and prevents rubbing on the skin. See our guide on the different parts of a zipper.
7. Snap placket
A placket made for snaps, as in Western shirts, baby clothes and sportswear. The strip is reinforced with interlining, because the snap needs a firm base. See snap button pinch setting.
8. Pleated or box pleat placket
A front placket with a pleat in it, either a stitched pleat or a box pleat. Used on some shirts, tunics and fashion tops, where the pleat is part of the style.
9. Fly front (trouser fly)
A fly is the placket opening on trousers and shorts, with a zipper or buttons, and a shaped fly shield. It is related to a placket, though built differently, with a J stitch and a facing. It has its own sewing sequence, set out in our operation breakdown of trousers.
10. Half placket or neck placket on tunics and kurtas
A placket partway down the front, often with a few buttons at the neck, used on tunics, kurtas, nightwear and kidswear. The construction follows the polo or the continuous placket.
Quick comparison
| Placket type | Where used | Fabric type | Complexity |
|---|---|---|---|
| Classic front | Shirts, blouses | Woven | Low to medium |
| Hidden | Dress shirts | Woven | High |
| Polo | Polo shirts | Knit | Medium |
| Henley | Round neck tops | Knit | Medium |
| Continuous lap | Sleeve opening | Woven | Medium |
| Tower | Sleeve opening, formal | Woven | High |
| Zipper | Jackets, pullovers | Woven or knit | Medium |
| Snap | Western shirts, baby wear | Woven or knit | Medium |
| Fly front | Trousers, shorts | Woven | High |
How plackets are sewn: the typical sequence
The steps below show how a classic or polo placket is built. The exact order changes with the style and the factory.
- Cut and fuse. Cut the placket pieces, and fuse the interlining where the buyer calls for it.
- Prepare the strip. Press the edges, using a folder, a template or an automatic machine.
- Mark and slit. For a polo, mark the placket position and cut the slit to the marked length.
- Attach the placket. Sew the strip to the opening, with an even seam allowance. See standard seam allowance in garments.
- Turn and press. Fold the placket to its shape and press it flat.
- Topstitch. Sew the visible stitching at the set distance from the edge, keeping the width even.
- Close the base. Bartack or box stitch at the bottom of the slit, with the corner of the garment clean.
- Make buttonholes on the overlap. See buttonhole, bartack and attaching machines.
- Sew on buttons on the underlap, matched to the buttonholes. See types of buttons in garments.
- Final press and check.
You can see where the placket operations fall in a full garment sequence in our operation breakdowns for the polo shirt and the shirt. Placket operations often take a high share of the SMV, because they need accuracy, and they are good targets for special folders and attachments.
Machines and attachments
- Single needle lockstitch machine: for attaching, topstitching and general work.
- Folder or guide attachment: a metal guide that folds the strip as it feeds, which saves pressing and keeps the width even.
- Placket making machine: special machines that fold, stitch and trim plackets automatically, used for high volume.
- Template or pattern sewing machine: sews along a fixed path in a template, which gives the same placket on each piece.
- Buttonhole and button attaching machines.
- Bartack machine: for the base of the placket.
- Fusing press: for placket interlining.
Using a template or folder is one of the simplest ways to cut variation between operators. See also ergonomics in sewing operations for work aids that reduce effort on fine tasks.
How to specify a placket
Include the following in the tech pack or the sample sheet.
- Placket type and name
- Finished width and length, with tolerance
- Whether grown on or separate
- Fabric, grain direction and interlining type
- Edge finish and topstitching distance
- Shape of the end, and closing stitch
- Number, size and spacing of buttons, or the type of zip or snap
- Side of the buttonholes and buttons
- Thread colour and stitch density
- Measurement points on the garment
A sketch with dimensions, and an approved sample, avoid disputes. Tolerances for measurements are in our guide on garment measurement tolerance.
Common placket defects and causes
| Defect | Likely causes |
|---|---|
| Twisted placket | Uneven feeding, strip cut off grain, uneven pressure |
| Uneven width | No guide or folder, poor pressing, operator error |
| Short or long placket | Mark not followed, no template, shrinkage |
| Puckering at the base | Tension, wrong stitch length, no interlining |
| Gaping when buttoned | Wrong button spacing, placket too wide or loose |
| Wavy topstitching | Fabric stretched, wrong feed, wrong needle |
| Raw edge showing | Poor folding, wrong seam allowance |
| Corner not sharp | Poor cutting of the slit, no stay stitch, poor turning |
| Buttonholes off centre | Poor marking, machine setup |
| Colour shade difference | Placket cut from a different roll or lot |
| Skipped stitches | Needle problem, thread problem |
| Pointed end not square | Wrong template, wrong folding |
Many of these have the same causes as general sewing defects. See our guide on sewing defects and their root causes.
Quality tips
- Fuse the right area. The interlining should cover the placket without bubbles, and reach the correct line.
- Check the grain. Cut the placket on the grain, unless it is a bias strip by design.
- Match checks and stripes. On checked or striped fabric, plan the placket so the pattern lines up across the front.
- Press well. A good press sets the shape before stitching.
- Use a template or folder for each style.
- Check the first piece for width, length, base closing and button alignment.
- Check shrinkage. If the fabric shrinks in wash, the placket may pucker or shorten. Match shrinkage between the placket and the body fabric.
- Keep the stitch tension steady, and use the right needle.
- Inspect in line. Check a few plackets per operator every hour, so problems are found early.
Final thoughts
The main types of plackets in garments are the classic front placket, the hidden placket, the polo and henley plackets, the continuous lap and tower sleeve plackets, and zipper, snap and fly fronts. They can be separate or grown on, and each has a different sewing sequence and different typical faults.
Specify the width, length, shape, interlining and closing stitch in the tech pack, use folders and templates to keep the work even, and check the first piece of each style. A placket sits on the front of the garment, so any fault is seen at once by the buyer and the customer.
Frequently asked questions
It is a strip of fabric that reinforces and finishes an opening, so that it can be closed with buttons, snaps or a zipper.
Classic front, hidden, polo, henley, continuous lap, tower, zipper, snap, pleated and fly front plackets.
On a classic placket the buttons show on the front. On a hidden placket an extra strip of fabric covers the buttons for a clean front.
A two piece placket at the sleeve opening, made from two separate pieces, with a shaped overlap. It looks more formal than a continuous lap placket.
By common convention men’s shirts have buttons on the wearer’s right and women’s shirts on the left, but follow the tech pack for each style.
Usually because of uneven feeding, a strip cut off the grain, or uneven pressure and stretch while sewing. A guide or folder helps stop it.
Most do, to give a firm, flat base for buttonholes, buttons and snaps. The type of interlining depends on the fabric and the buyer’s spec.