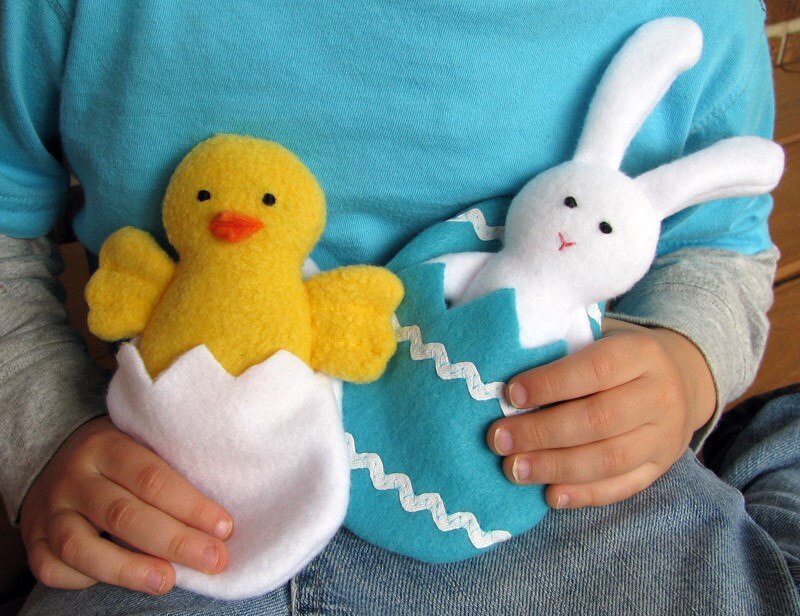
Celebrate Spring with this chick and bunny duo! Each comes in its own eggshell home and is a perfect small gift to surprise. This article will explain how to make Chick and Bunny with pattern.
Materials Required to Make Chick and Bunny
- Pattern (pdf is added with the article to print and use it)
- Yellow, white + your choice of colored fleece, plus a scrap of orange fleece or felt
- Matching thread
- Stuffing
- Black + pink embroidery floss
- Rickrack or other trim (optional)
Tools Needed
- Sewing machine + needles
- Hand sewing + embroidery needles
- Paper + fabric scissors
- Washable fabric marker
- Pins
- Freezer paper + iron (optional)
- Pinking shears (optional)
- Hemostats (optional)
Let’s Get Started with Chick and Bunny Tutorial!
Use matching thread throughout.
Sewing the Bunny and Chick
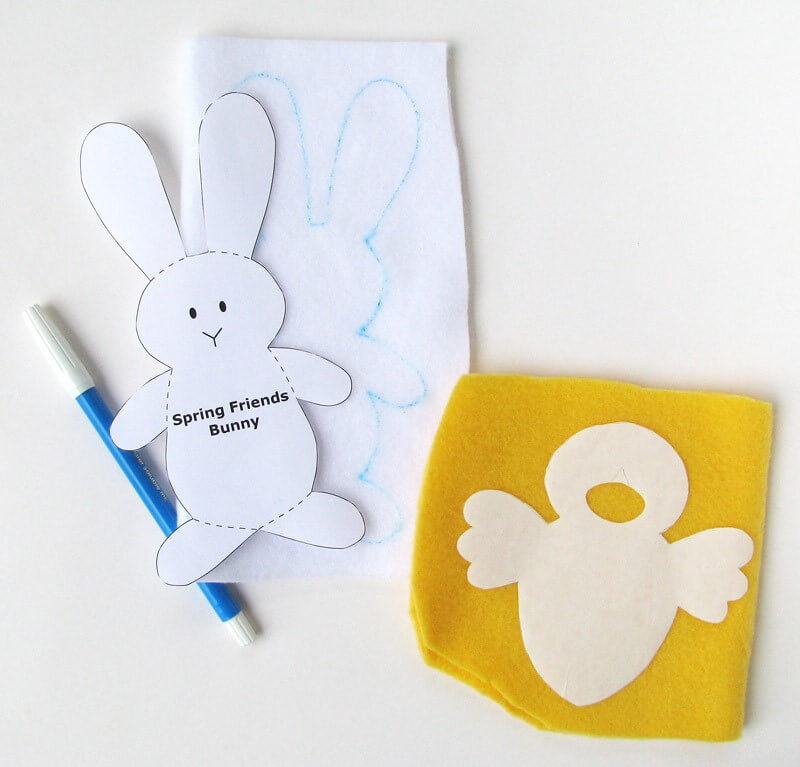
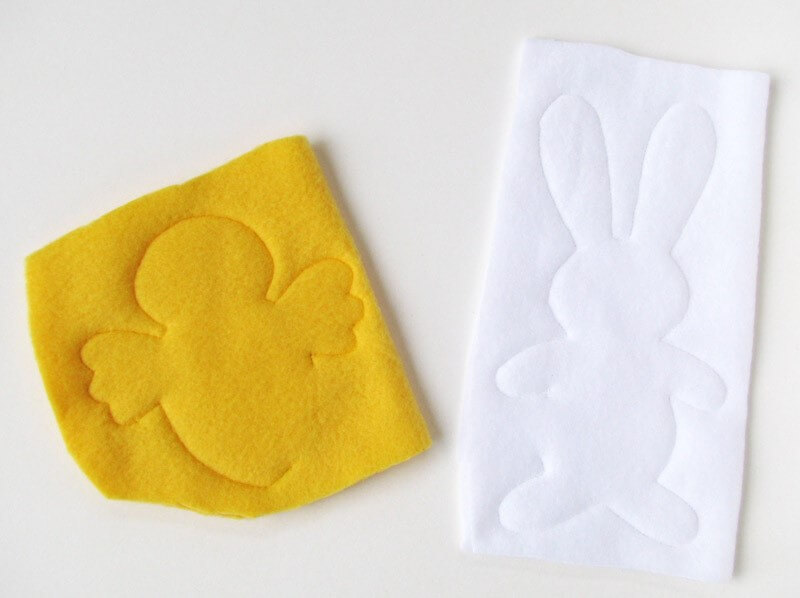
1. Cut out your pattern pieces and then prepare your fabric for sewing. You can either trace the pattern onto the wrong side of the fabric with a washable marker or use the freezer paper method. For the latter, trace the pattern onto freezer paper, cut out the freezer paper shape (for the chick, also cut out the dotted circle around the beak), and then iron it– shiny side down! – to the wrong side of the fabric. You’ll sew just outside the edge of the freezer paper.
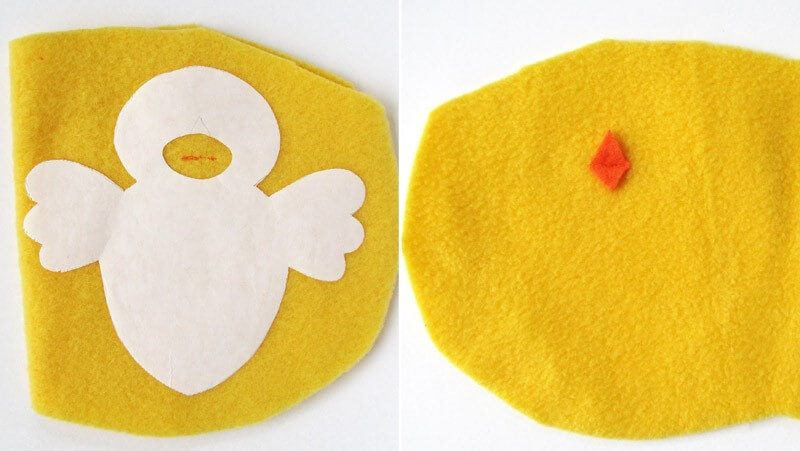
2. For the chick Cut the beak out of orange fleece or felt and pin it in place on the right side of the fabric. Hold the fabric up to the light so you can see where to place the beak in relation to your marked lines or freezer paper. Topstitch across the middle of the beak.
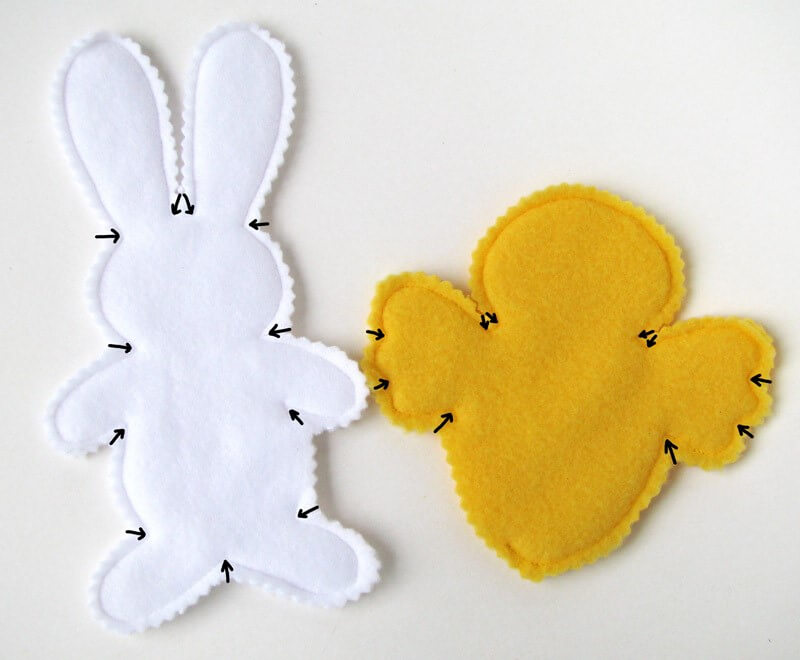
3. Put your prepared fabric’s right side together with another layer of fabric and sew around the bunny or chick, leaving a turning hole.
4. Cut out the bunny or chick and clip your curves. (I love using my pinking shears to cut out the shapes; it’s lazy curve-clipping!) Use your scissors to take a deep snip (just short of the seam) at each of the sharp corners.
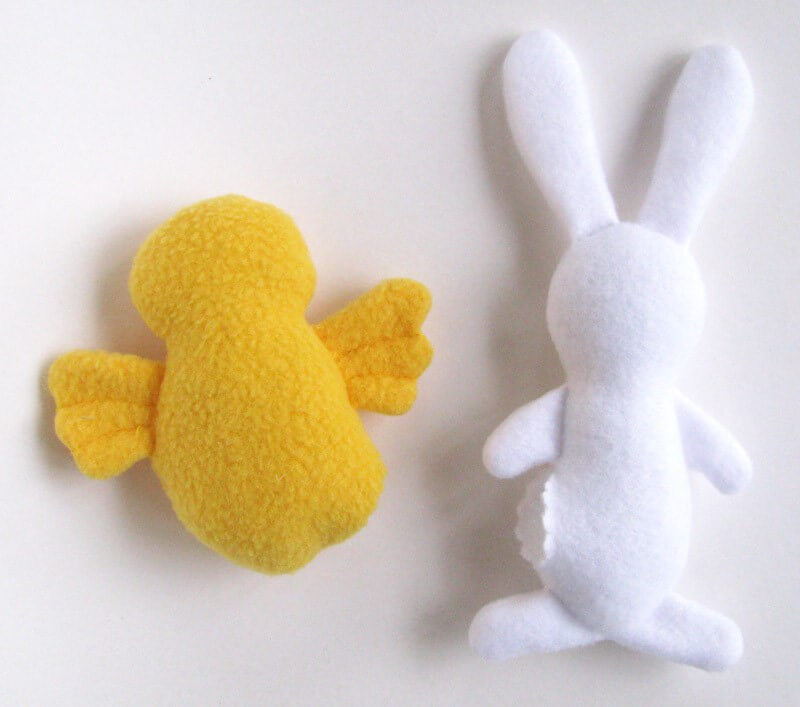
5. Turn the bunny or chick right side out. Hemostats are so helpful to turn those tiny areas!

6. Topstitch the details marked on the pattern.

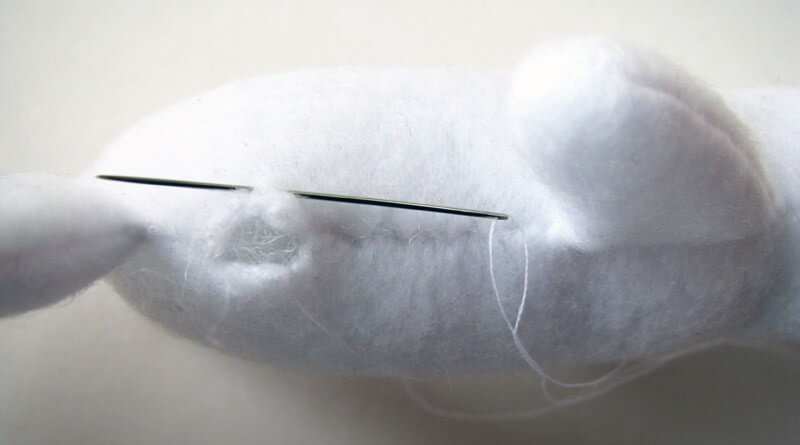
7. Stuff the bunny or chick. For the best results, use small bits of stuffing and work from the edges inward.
8. Mark the face with a washable fabric marker, and embroider it with your embroidery floss: satin stitch for the eyes and straight stitch for the bunny’s nose. Hide your knots by going in and coming out through the turning hole.
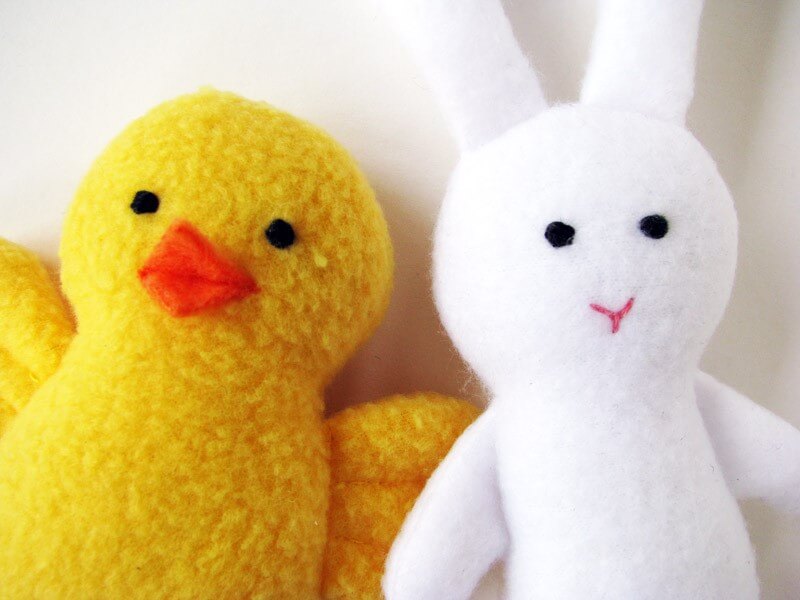
9. Close the turning hole with a ladder stitch. You can collect machine embroidery designs from online sources like Creative Fabrica. These designs will help you to create your bunny and even find inspiration for new projects.
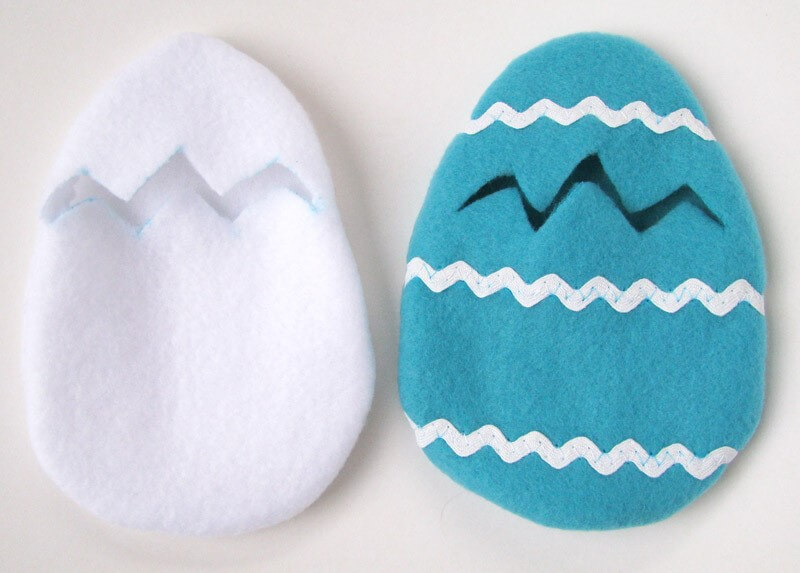
Sewing the Egg
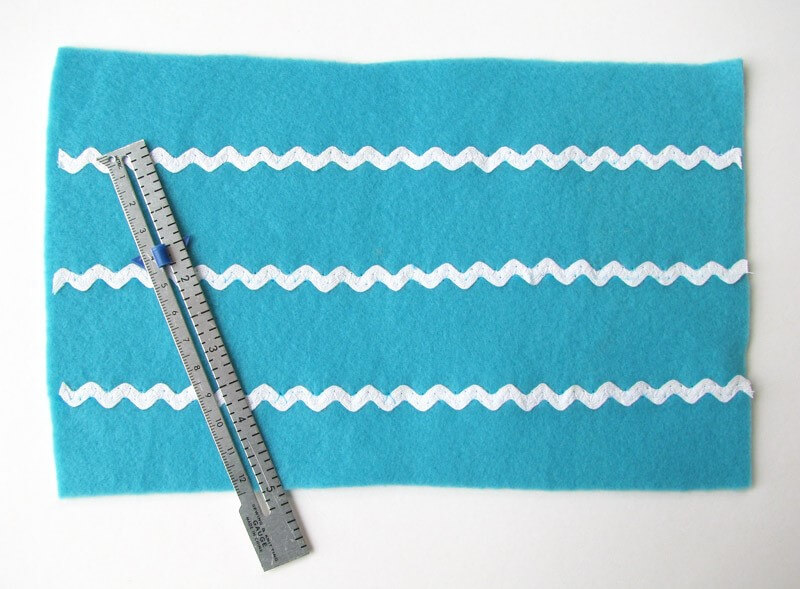
1. For a decorated egg, cut a 6″ x 10″ rectangle of colored fleece and sew three lines of rick rack or other trim 1 1/2″ apart on your fabric.
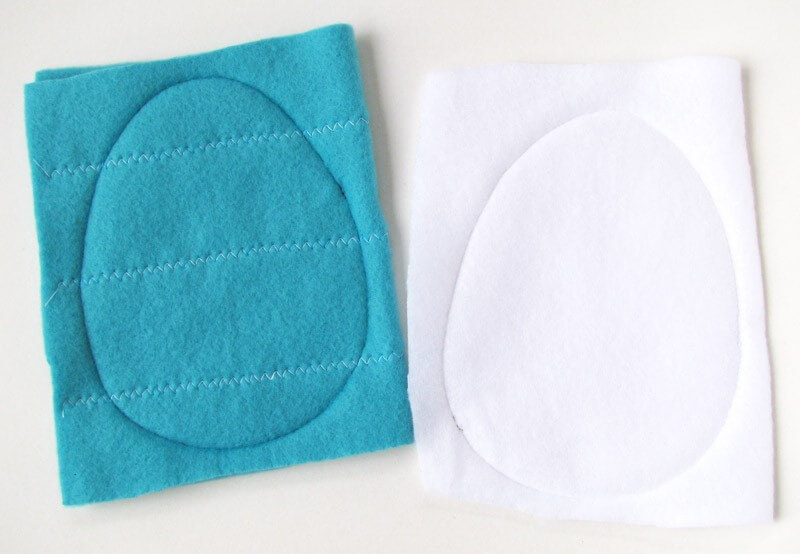
2. Prepare your fabric by either tracing the egg with a washable marker or using freezer paper as described above. (Make sure your trim lines up for the decorated egg.)

3. Sew all the way around the egg; don’t leave a turning hole.
4. Cut out the egg shape and clip the curves.

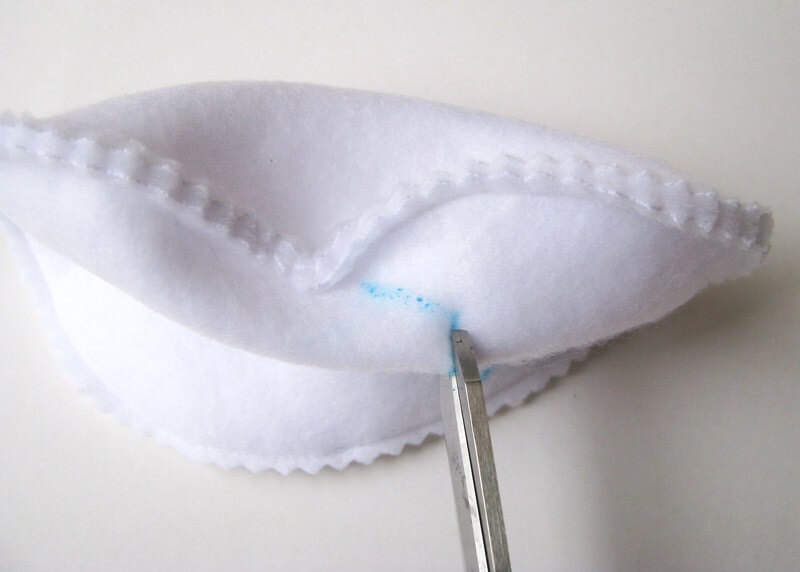
5. Mark the zig-zag opening with your washable marker. Pull apart the two layers of the egg and fold one of the lines in half, then cut it with scissors. Unfold it and use that starting point to cut along the entire zig-zag.
6. Turn the egg right-side out.
All done! Fold back the chick’s wings and the bunny’s ears to pop your new Spring friends into their eggshell homes!