Kids love being creative, and parents and educators know how to use it to a child’s advantage. Encouraging kids to use their crafty hands benefits them in a variety of ways. Apart from expressing themselves and their feelings, kids build self-confidence and develop their fine motor skills. What is more, doing it with their parents, they enjoy quality family time and form an emotional bond with their caregivers.
Smart Craft Ideas for School Kids
Kids Academy, a comprehensive educational platform for kids and their parents has prepared some DIY projects to keep your kids busy and use their natural creativity in a fun and useful way.
Find more ideas on different aspects of a child’s development and education in our expert blog about kids, where qualified professionals share their insights into the topic.
Inspirational Pencils
Here is one of the fun and easy-to-follow craft ideas suitable for elementary students. You can either work together with your little one or give it as a present to motivate them and build their self-esteem.

Supplies you need:
- A pack of pencils
- A precision paintbrush with a flat tip
- Acrylic paints
- A permanent marker with a fine tip
- Optional: painter’s tape
Directions:
- Place an old newspaper or paper towel on a surface near a wall to prepare a safe place where you can leave the pencils to dry.
- If you have painter’s tape, wrap a small amount around the pencil’s eraser. Paint each pencil with the acrylic paint colors you choose.
- Prop the pencils against the wall, the end with the eraser should touch the wall. To prevent the pencil from slipping and smudging the paint, stand it up gently. Allow drying for a minimum of 30 minutes.
- Make sure that the pencils are dry and decide if you want a second coat. If necessary, repeat the steps above.
- Use the permanent marker to write inspirational messages on the pencils in a horizontal direction. Depending on how old and mature your kid is, it could be, “I Believe in You”, “Love You, Mom” or “You Are Awesome”.
- Take off the painter’s tape.
You can hide these inspirational pencils in your kid’s pencil pouch to give them motivation at school. If you work on them together, encourage your little one’s creativity while coming up with the design and the messages.
Cute Pencil Toppers
You won’t find crafts more suitable for your kid’s little hands than this one. It takes even a pretty young learner just several minutes to complete. First, get some items from your local arts and crafts store.

Supplies you need:
- Pencils
- A pack of small googly eyes
- Colorful Pipe Cleaners
- White glue for crafts or tacky glue
Directions:
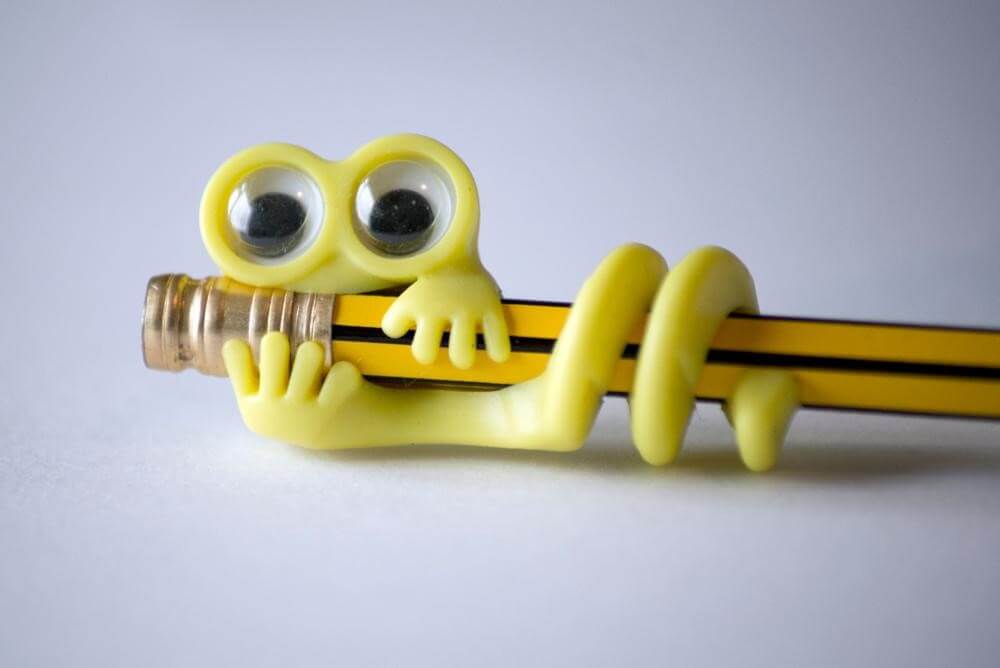
- Take a pipe cleaner and pencil, then wrap the pipe cleaner around your pencil starting from the middle until it reaches the eraser.
- Curl the tip of the pipe cleaner to form a head, next glue it with a small amount of glue to prevent it from coming apart.
- Glue two googly eyes to the head and get a bookworm!
The fun of such simple craft activities is that there are endless options! You can add more charm to the bookworm by using more colors or foam board ears to create monsters, and whatever else you can think of to make fuzzy pencil tips that your child will love.
Princess and Superhero Book Marks
Crafts are a great way to motivate kids for learning. They will be looking forward to opening their books if you use this idea.

Supplies you need:
- Acrylic paints
- A black permanent marker with a fine tip
- Jumbo craft sticks
- Pencil in white paint
- Paint brushes
- A Mod Podge sealer
- Optional: googly eyes, pipe cleaners, felt, etc
- Optional: Craft glue
Directions:
- Talk to your child and decide what exactly you want to make. It might be the Hulk, Rapunzel or any other character, possibly a monster or an animal that interests them. Take into account your kid’s ideas and choose suitable paint colors and materials.
- Now you need to draw, or paint, the character on the Jumbo craft stick. Rapunzel could wear a light purple outfit, so you can either paint the stick purple or attach a felt gown to it. For the Hulk, paint the stick green and then draw his face and on the top. You can use a permanent marker pen and white paint to draw the eyes. Add more details, depending on what character you are creating.
- Once the paint has dried, you can dress up the bookmark with any other materials. For example, you can glue on yellow pipe cleaners or twist ties to make Rapunzel’s locks.
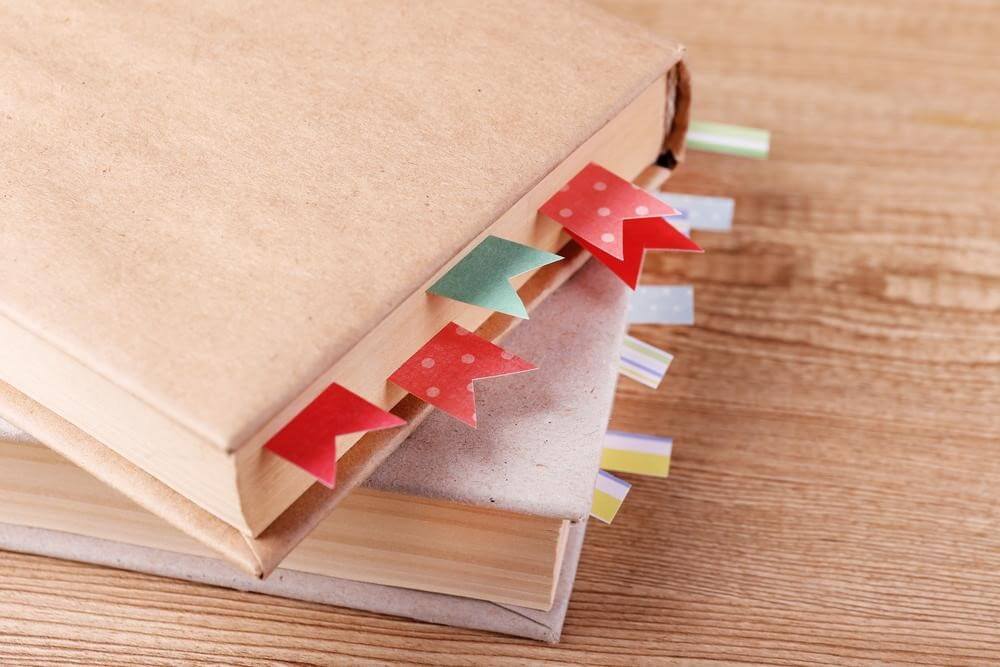
When the bookmarks are dry, your kid may place them in the book to mark their spots. If your child goes on creating new DIY characters and animals all through the school year, they might build up a collection that will help them strengthen their love of reading.
Photo Frame Prop to Mark the First Day of School
You can use your kid’s crafty hands to create original frame props for photos which will keep the memory of important events and milestones in their lives, such as the first day of a school year.

Supplies you need:
- Crayons (around 200 pieces)
- A large rectangular piece of cardboard
- A hot glue gun
- A Utility Knife
- Scissors
- Markers
- A pencil
- Sentence strips
- Chalk and a mini chalkboard
Directions:
First line up the crayons one at a time along the cardboard’s sides. Mark the center of the cardboard with a pencil and then use the utility knife to remove the middle.
- Only for parents! Glue the crayons to the cardboard frame using hot glue.
- Use markers to write the ABC’s on the sentence strips in brightly colored letters. Write “The First Day Of …” on another sentence strip. Next, trim the strips at their bottoms and tops.
- The sentence strip that reads “The First Day of …” should be glued to the frame at the top.
- The sentence strips with ABC’s are glued to the 3 other sides of the frame.
- Glue the mini chalkboard to the bottom right corner. Write the grade that your child is entering.
After your child poses with the frame on the first day at school, send the photo to friends and family! If you have more than one child, clean the chalkboard and write the grade that your other children will be entering. This idea can be used for all of your children’s primary school years.
Pencil Pouches
It’s fun to create arts and crafts, but they are even more enjoyable when you can use them many times. This project is easy to make and is suitable for kids of all ages, from kindergarteners to tweens. This activity can actually help you save money on school supplies because you can use materials that are easily found in your home.

Supplies you need:
- Ziploc Slider bags (quart size)
- Decorative duct tape in any design your kid likes (standard-sized)
- Duct tape in a color that contrasts or matches the design (mini-sized)
- Scissors
- Supplies for school, such as pencils, markers and erasers
Directions:
Place a Ziploc bag flat onto a table or workspace. Attach a long piece of duct tape (standard-sized) to the top, just below the zipper.
- Attach an additional long piece of duct tape to the opposite side by flipping the bag.
- Continue steps 1 through 2 to add another row of tape to the bag on each side, just underneath the first one.
- Cut off the bottom of the bag with the scissors.
- Continue repeating steps 1 through 2 to create a third row of tape on each side of the bag. This should be directly under the second row.
- Cut off about 1/2 inch of tape from the pouch’s bottom, but leave enough to keep the bag together.
- To add a complementary or opposing color to the design, place a row of duct tape (mini-sized) along the bottom and sides.
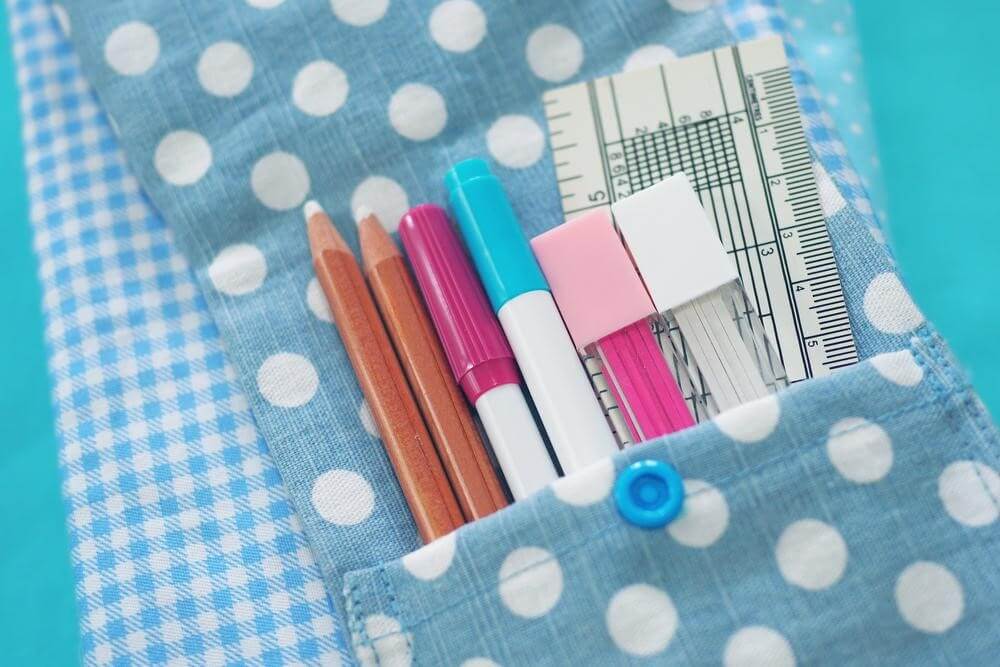
Once you are done, fill the bag with school supplies and put it in a backpack. If you keep duct tape and Ziploc bags at home, you can always make more DIY pouches of any design that you like.
These projects will get your child excited about school if they aren’t already. Making pencil pouches, photo frame props, bookmarks and many more not only inspires your child’s imagination and creativity but also helps to increase their excitement for school.


